Automating WordPress Translations
One of the strong points of WordPress is that it's easy to translate the tool itself. As discussed in Translating WordPress Themes the process for translating WordPress elements is as follows:
Add a domain to the style.css theme boilerplate to make sure that WordPress doesn't confuse the translations of your content with other plugins, themes, and the core itself.
/*!
Theme Name: rivendellweb
Version: 1.0.0
Text Domain: rivendellweb
*/
Then you need to change the way you write strings for WordPress. Instead of using the raw echo command, like this:
<?php
if ($req) echo ('(required)');
You'd have to change it to one of the GetText localization functions. The echo example now would look like this:
<?php
if ($req) ( _e( 'Required', textdomain ) );
This tells WordPress that this is a translated screen that we echo back to the user but it doesn't actually translate the string.
Rather than providing manual translations, we can use tools like POedit or GlotPress to generate automatic translations for WordPress.
POedit #
I've documented the translation process using POedit in Translating WordPress Themes so I won't go into too much detail. For the purpose of this post, we'll assume you've already created a POT for the project.
The idea is that you follow these steps:
- Open POEdit
- Select Translate WordPress Theme or Plugin
- Select Create a new translation
- Enter or select the language for the translation
- Begin working with the translations, either manually or automatically if you use (POedit Pro)
The idea is that this will make your work easier by creating the translation files for you without having to do so manually.
The one disadvantage of POedit is that it doesn't work well in groups. If there's more than one translator there may be problems.
GlotPress #
Unlike POedit Glotpress is designed from the start to be a collaborative translation tool.
After you install the plugin navigate to server_url/glotpress/. The first time you access Glotpress you will see something like the figure below:

Glot Press after first install
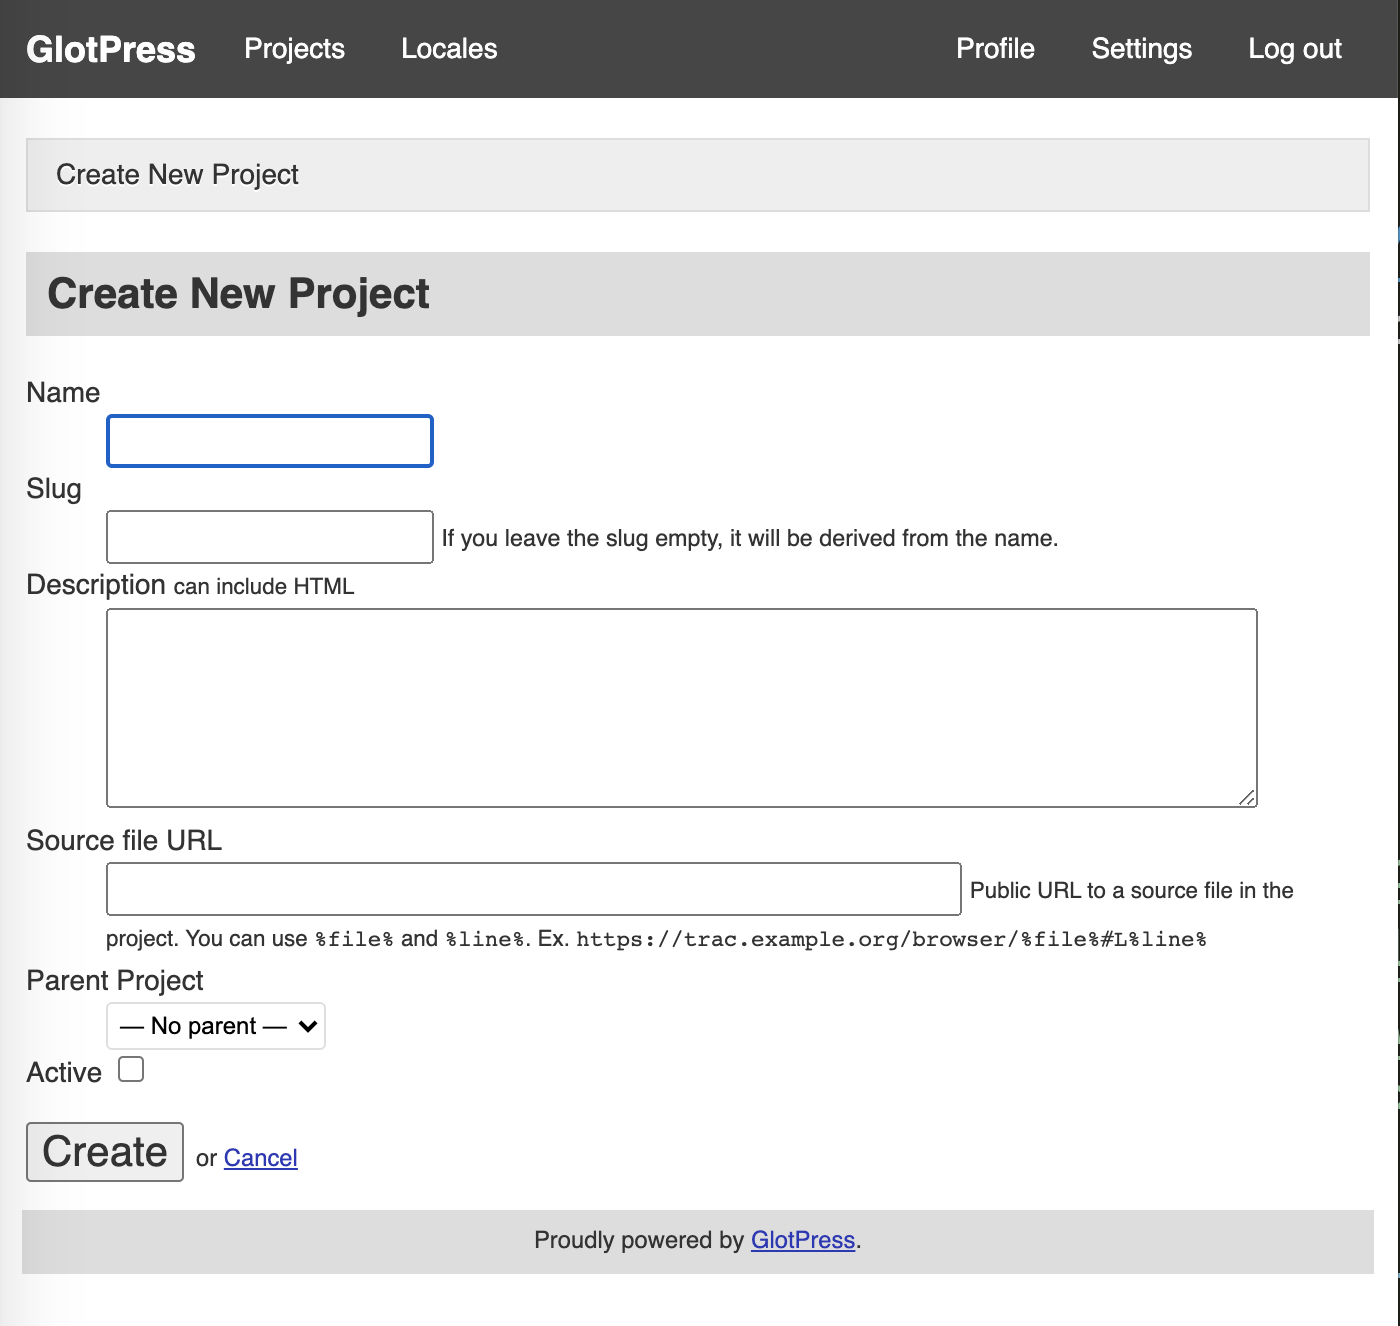
Once we load GlotPress we can click on Create a New Project and we'll be presented with the screen in the following figure.

Glotpress project creation screen
We will then be presented with a menu of actions for us to do with the project we just created.

List of project actions for the project we just created
The first task is to Import Originals. This will take a PO or POT translation file created with a different tool and import it into Glotpress so we can use it here.
We then create a new translation set which is what Glotpress will present us when we start doing the actual translation work.

Glotpress dialog to create a new translation set
Once we complete the creation of a new dialogue set we'll see it presented on the home screen.

Before we start working with the translation set we just created is to click on the language we want to work with

List of available translations strings
Choose the string you want to work with and double click the textbox where it says click to add. You will see something like the following figure.

Enter as many translations and you like. When you're done click on add translation -> or cancel if you change your mind.
The last step, once you've completed the translations, is to export to a PO or POT format.
One way to do it is to click on the Export link at the bottom of the screen and keep it the default settings as they are.

Links to import and export translations from Glotpress
Conclusions #
POedit and Glotpress have their advantages and disadvantages.
One thing you could consider is using them together.
Use POedit to generate your first, automated, pass at translation, and then upload it to Glotpress and let your colleagues and your localization contractors work with the translations there.
There are other ways where on their own or both together these tools can be useful for translating WordPress themes and plugins. This is a starting point for you to work on your own translations.
